Installing database tool and creating the Jamroom database
Table of Contents:
Install phpMyAdmin
(optional) Secure the phpMyAdmin install
Load phpMyAdmin in your browser
Create a MySQL user and database for Jamroom
-
Installing phpMyAdmin isn't necessary to run your site, but it makes administering your MySQL server easier.
Install phpMyAdmin
phpMyAdmin is a web-based administration interface to your MySQL server:
http://www.phpmyadmin.net/home_page/index.php
So if you are familiar with creating a database, users and managing the grants from the command line go for it (although I'm not sure why you would need this guide!).
To install phpMyAdmin, as the root user run:
apt-get install phpmyadmin
This will download and setup phpMyAdmin for you, and make it available as a special URL in your domain - i.e.
http://www.yourdomain.com/phpmyadmin
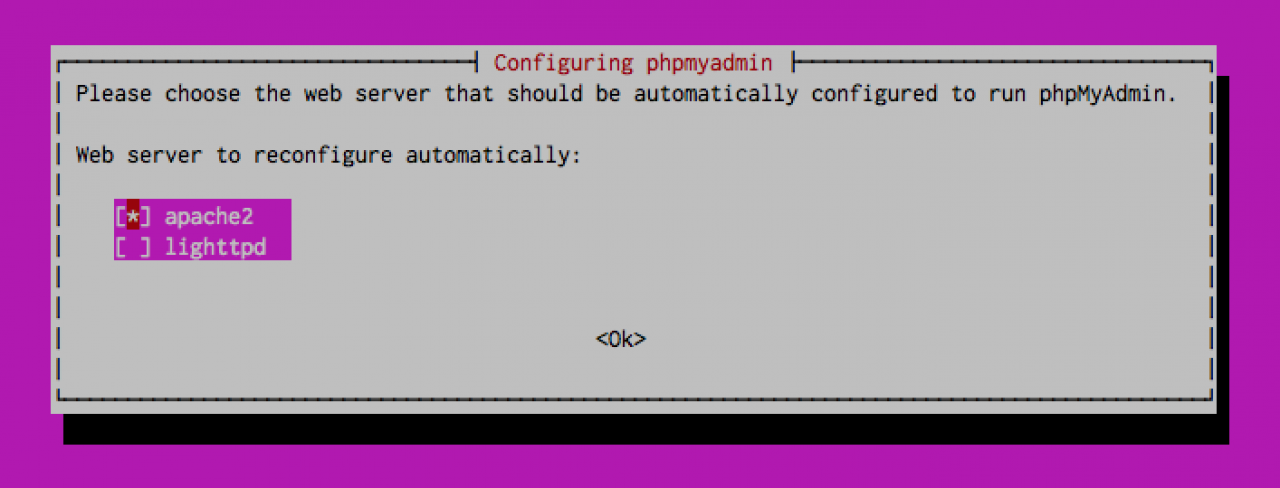
After running the install comment, you will be presented with a screen that asks you which web server you want to configure it for: -
Use the "space bar" to activate apache2, then press "tab" to move the cursor to "OK" and press enter.
-
You will also be prompted to "configure phpmyadmin" - just leave the select on "Yes" and press enter. It will then ask you for your MySQL root password (you set this when installing MySQL) - enter that twice, and it will configure phpMyAdmin for you.
-
Now that phpMyAdmin has been installed, you can optionally secure phpMyAdmin so it can only be accessed from your IP Address. To do this, modify the phpMyAdmin apache2 config file:
(optional) Secure the phpMyAdmin install
/etc/phpmyadmin/apache.conf
At the very top of this file you will see a section like this:
        Options FollowSymLinks
        DirectoryIndex index.php
We want to add in a "allow" directive to only allow our IP Address range to access phpMyAdmin, so change the top section to look like the following by adding in the allow/deny directives:
        Options FollowSymLinks
        DirectoryIndex index.php

        Order Deny,Allow
        Deny from All
        Allow from xxx.xxx.xxx.xxx
Where "xxx.xxx.xxx.xxx" is your IP Address, which you can find here:
https://duckduckgo.com/?q=what+is+my+ip
This will only allow your IP address access to phpMyAdmin, which makes it more secure. Restart Apache for the change to take effect:
service apache2 restart
-
When complete you should now be able to load up phpMyAdmin - i.e.
Load phpMyAdmin in your browser
http://ip_address/phpmyadmin/
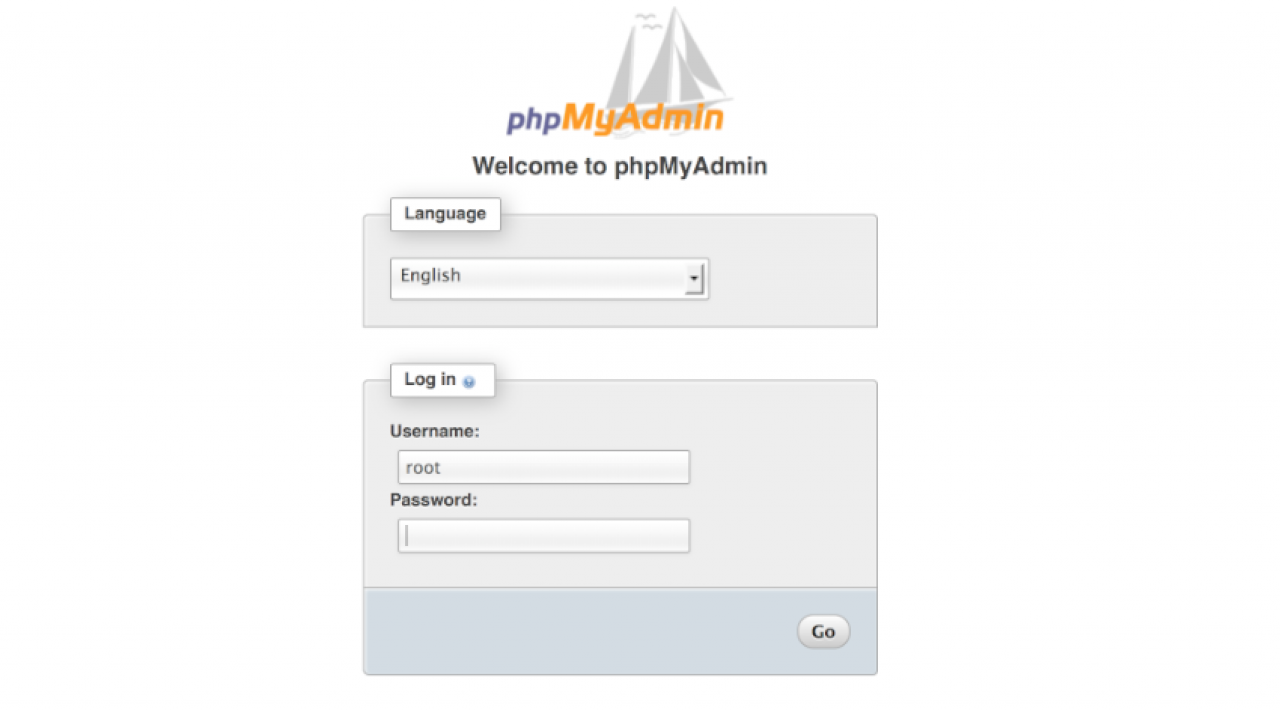
replace "ip_address" with the IP Address of your Digital Ocean droplet. You should see the phpMyAdmin screen for logging in: -
-
The next step is to create the MySQL user account and Database that will be used for the Jamroom install.
Create a MySQL user and database for Jamroom
So now that you are at the phpMyAdmin login, screen, log in with your root username and password. After logging in you will be in the main phpMyAdmin screen.
At the top of the screen will be a menu entry that says "Privileges": -
-
Click on that menu item - that will take you into the MySQL Privileges screen. It is within this screen that you will create a new user account as well as a Database for your Jamroom install:
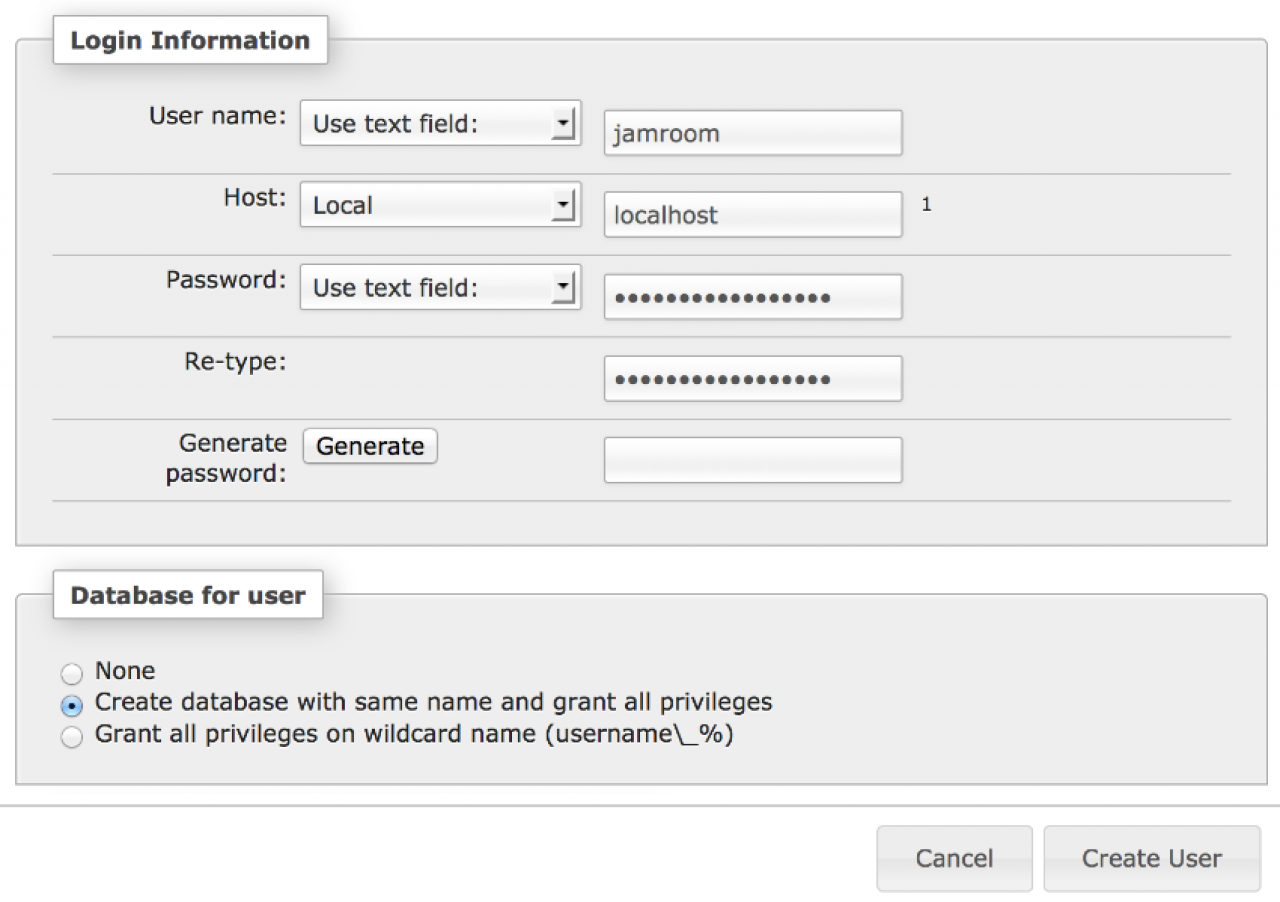
- Click on the Add a New User link in the middle of the page.
- In the User Name field enter "jamroom" (without the quotes).
- In the Host select drop down, select "Local"
- In the Password and Re-Type fields enter a long, hard to guess password.
- In the Database for User section select the "Create database with same name and grant all privileges" option. -
Here's what it should look like
-
Press the "Create User" button to create the new user account.
After the new account is created, scroll to the bottom of the window and click on the "Reload the Privileges" link - this will reload the MySQL GRANT that you just created so it is active: -
That's the link you want to click on