Getting your VPS setup with Ubuntu 12.04 LTS
-
The first step to creating a high performance setup for Jamroom 5 is to get your own VPS (Virtual Private Server) setup on Digital Ocean - if you don’t have a Digital Ocean account, you’ll want to create one:
Getting Signed up with Digital Ocean
https://www.digitalocean.com/?refcode=8c9a01ef2151
(our referral code again - you know the drill)
Digital Ocean features VPS’s that use SSD (Solid State Disks) instead of traditional hard drives - Jamroom 5 benefits from the faster SSD’s. For this guide we will be setting up Jamroom 5 on the cheapest Digital Ocean server - their $5 a month server that gets you 20 gigs of SSD space.
They have a wide variety of different VPS sizes you can choose from, so if you want something bigger, go for it - the setup will be identical. One of the benefits of going with a VPS is the flexibility - you can start out on the $5 a month plan and easily move to larger VPS servers as your needs grow.
We’re going to be using Ubuntu 12.04 for this guide - 12.04 is Ubuntu’s most recent “LTS” (Long Term Support) release - I’m a big fan of the LTS releases, and 12.04 has worked well. We’re going to use the 64bit version of Ubuntu, which will allow our VPS to use more than 4Gigs of RAM or so if we decide to upgrade to a larger VPS plan in the future.
-
So Digital Ocean calls their VPS servers “droplets” - when you see me use the term “droplet” in this guide, know that I mean the VPS server that you are setting up.
Creating your "Droplet"
Our first step is to create the Ubuntu 12.04 Droplet - do this from within the Digital Ocean control panel:
https://cloud.digitalocean.com/
by clicking on the big blue “Create Droplet” button. -
You can't miss the "Create Droplet" button
-
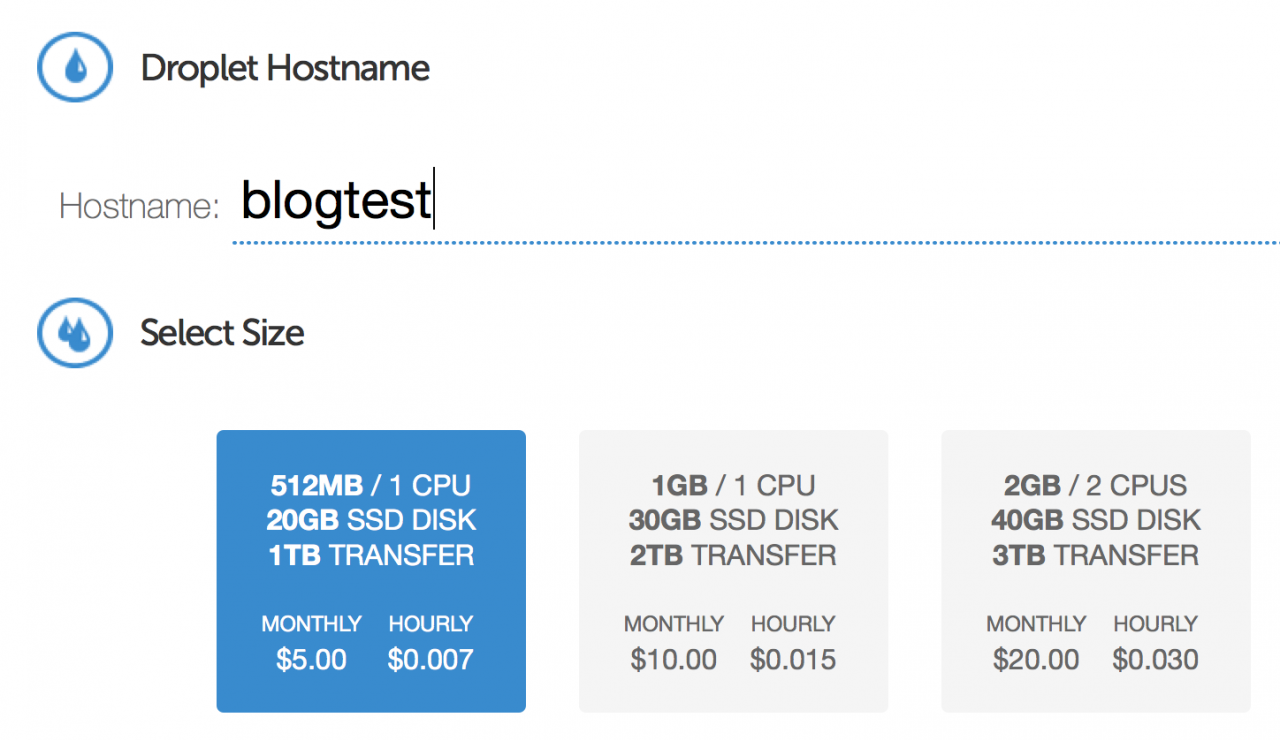
After clicking on the Create Droplet button you will be presented with the Create New Droplet form. From this form we're going to select the "512MB / 1CPU" option - this is the one that should be automatically selected when you entered the form.
If you'd like something larger, go ahead and select it here - the rest of the guide will be the same regardless of the size of droplet you choose. -
We're going with the cheap option - call your droplet something other than "blogtest"

-
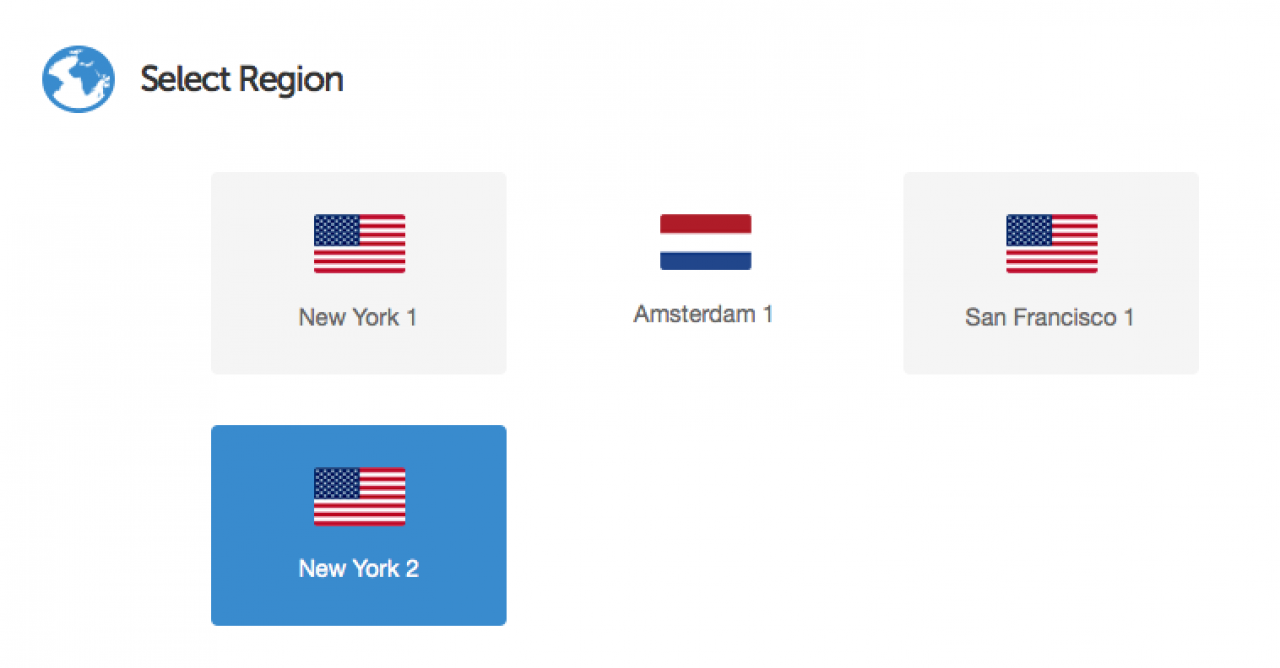
Next up, we're going to select the region that your new droplet will be created in. The "New York 2" location is a good location as it supports Private Networking (if you may need that). If you're in Europe you might want to select the Amsterdam location - latency to the US might make your site feel slower than it is.
So highlight the region you want your droplet created in. -
-
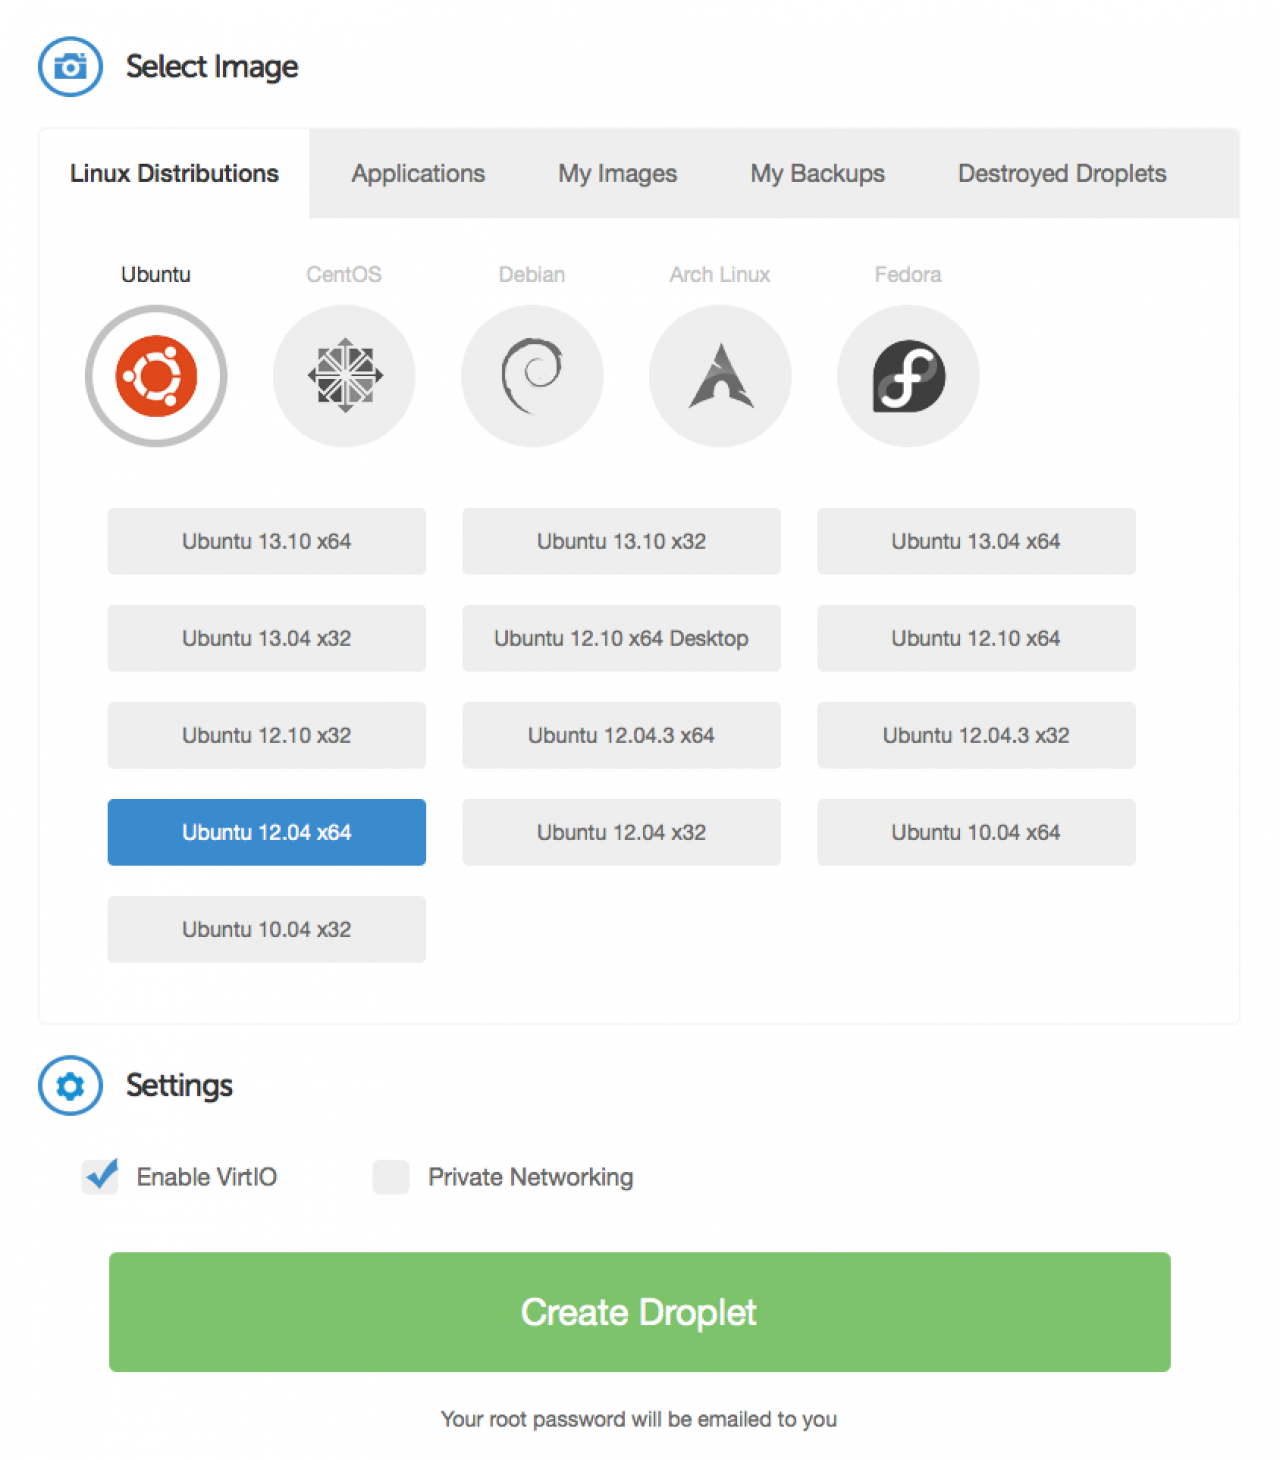
Finally we get to the important part of our options - selecting the base image for your new VPS.
Make sure and select the "Ubuntu 12.04 x64" option. Leave everything else as it is, and press the big "Create Droplet" button: -
Ubuntu 12.04 LTS - featuring 5 years of support
-
About a minute or so after you press the "Create Droplet" button, you should receive an email with the IP Address and root password for your new droplet.
Log in to the server via SSH using the root account, and we'll move on to the next part of the guide - configuring and updating the server. -
Remember - don't share your root password with anyone - keep it a secret