Installing the LAMP stack on your new Droplet
Table of Contents:
Updating Ubuntu 12.04 with the latest patches and updates
Installing MySQL Server
Install the Apache Web Server
Install PHP Core and additional modules
Create a user account for your domain
-
Now that we have our Droplet created, and you have received your email that has your new Droplet's IP Address and root login (if you have not received this yet, then go back - from here on our we assume you have access to your new Droplet), our next step is to get Ubuntu updated with the latest patches as well as install the packages that will get us to the "LAMP" stack that Jamroom runs on:
L - Linux
A - Apache
M - MySQL
P - PHP -
While logged in as the root user, run the following commands:
Updating Ubuntu 12.04 with the latest patches and updates
apt-get update
This will reach out to the remote Ubuntu software repository and make sure you have the latest "list" of available patches and updates. This will take 10 seconds or so to run - when complete run:
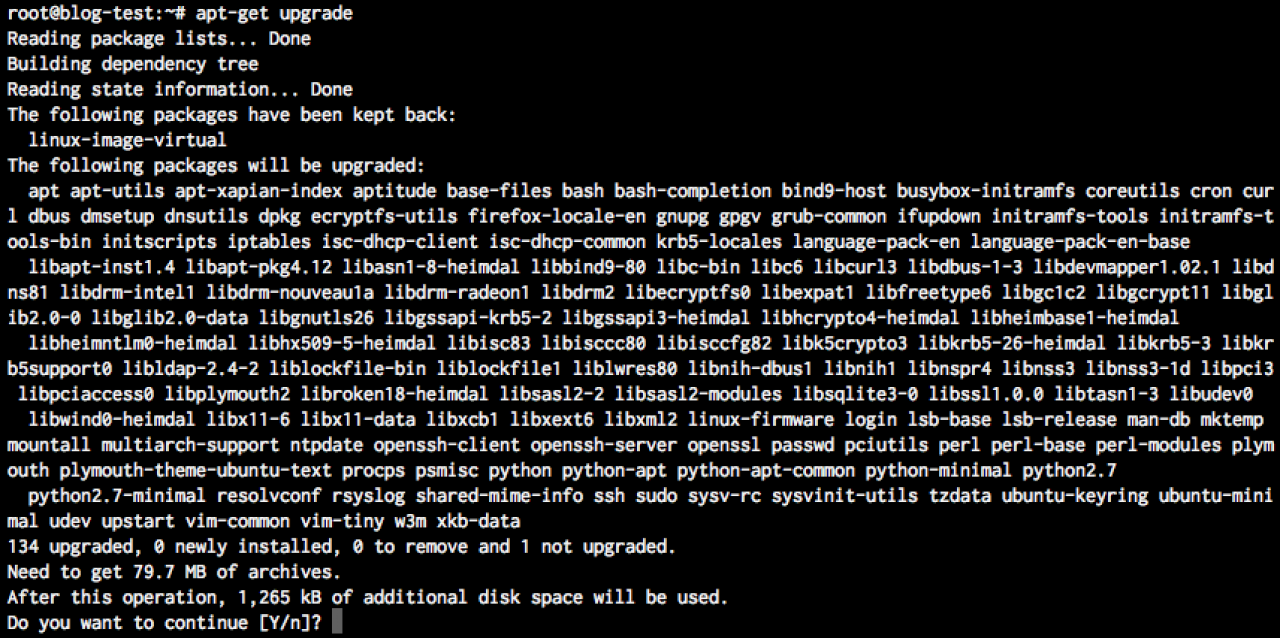
apt-get upgrade
You will see a big list of items that you will be prompted to update - press "y" and give it a few minutes while the updates are downloaded and your droplet is updated: -
That is one big list of updates
-
You should log in on a regular basis and run apt-get upgrade to ensure you stay up to date with the latest security patches - letting your server languish with old software is the surest way to get your server hacked!
-
The next step in our guide is to get MySQL installed on your server. MySQL is a database server that Jamroom uses to store the data that powers your Jamroom. As the root user, run the following command:
Installing MySQL Server
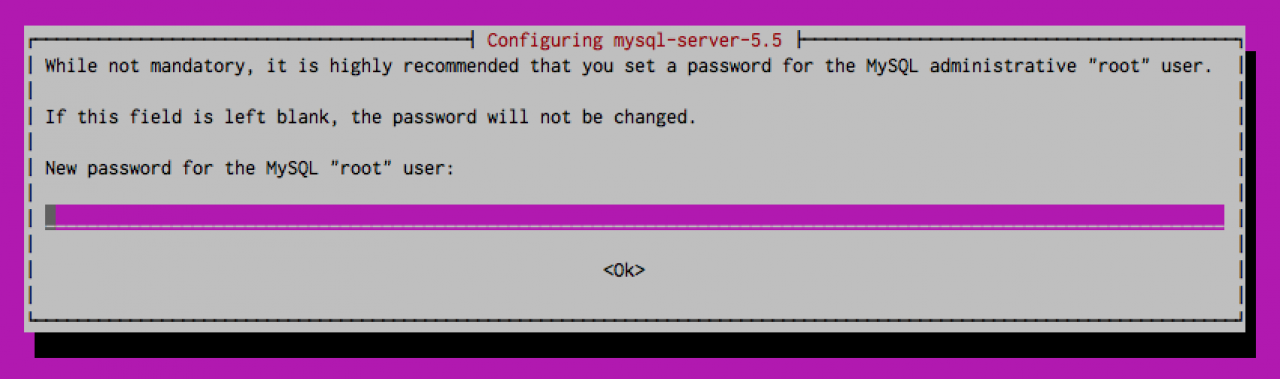
apt-get install mysql-server
This will install the latest MySQL server by downloading the packages that are needed and setting them up. During the install you will be prompted to enter the root password for the MySQL server - I would highly recommend a fairly long, complex password: -
What do you mean I can't use "abc123" as my password?!?
-
Jamroom has been designed to run on more than just the Apache Web Server (specifically nginx, which will be covered in another guide after we've had time to ensure it all works properly), but for now we recommend using Apache - it is battle tested, solid, and what we develop Jamroom on.
Install the Apache Web Server
Installing Apache is just as easy as installing MySQL:
apt-get install apache2 apache2-prefork-dev libcap-dev
This will install the Apache Web server (as well as a bunch of related Apache utilities) on your system - note that the Apache configuration files will be installed in /etc/apache2 - we're going to cover the Apache configuration in more depth in the next section of our guide.
By default there are some Apache modules that Jamroom uses that are not enabled by default. To enable an Apache module, we use the "a2enmod" command:
a2enmod rewrite headers
This enables the mod_rewrite module which Jamroom uses to construct nice looking (SEO) URLs, as well as the mod_headers module that Jamroom uses to set expiry times on images, css, javascript, etc.
You will be prompted to restart Apache, which you can do if you want to, although you will likely see the following error:
apache2: Could not reliably determine the server's fully qualified domain name, using 127.0.0.1 for ServerName
We're going to fix that now - we need to set the Apache "ServerName" in the /etc/apache2/apache2.conf file - open that file with an editor:
pico /etc/apache2/apache2.conf
And at the top add a line like this:
ServerName www.jamroom.net
Of course change "www.jamroom.net" to be the domain you are going to be setting up. Save the file and exit. Now you can restart the web server again and you won't see that error. -
lastly we need to install the PHP core and additional modules that Jamroom will use:
Install PHP Core and additional modules
apt-get install php5 php5-common php5-curl php5-gd php5-mysql php5-xsl php-apc php5-geoip php5-mcrypt php5-suhosin
Note that this installs the PHP 5 core and a number of PHP modules that Jamroom can use. -
Jamroom 4 did not run well with the "Suhosin" PHP security module in place - Jamroom 5 works well with Suhosin, so we highly recommend it:
http://www.hardened-php.net/suhosin/ -
Our next step is to create a user account that our web site will run under - this will be the user account we use to log into the system when we want to update our site, etc.
Create a user account for your domain
I would recommend using a user that is the same as your domain (without the www and .com/.net, etc.) - so in our case we would use "jamroom":
useradd -m jamroom
Of course change "jamroom" to the username you want to use. This will create the jamroom user account, as well as create the users home directory - i.e.
/home/jamroom
Next, you need to set a password for this user account:
passwd jamroom
again, change "jamroom" to the username you created - this will prompt you to enter a password for the user. Enter a good, solid password.
Next - we're going to create some directories that we will use for hosting the website inside the user's home directory (remember we're using "jamroom" here, but you need to use the actual name for the user you created):
mkdir /home/jamroom/public_html
"public_html" is where our website will live (it is the DocumentRoot)
mkdir /home/jamroom/logs
This is where any web server errors that are encountered will be logged
chown -R jamroom. /home/jamroom/*
This last line here makes sure the "jamroom" user owns those 2 directories we just created.
That's it - we should be good to go with our user account now.