CSV Plugin
-
This plugin is aimed at 'advanced' users as it requires a full understanding of the intermediary JSON file format (see this document's Appendix) and the ability to manually create the JSON files using Excel or similar, then upload them to the target Jamroom site via FTP, usually to a folder created for this purpose.
The JSON files are stored locally in the /data/cache/jrExporter folder and are accessible to the Importer module (see later) via an Exporter module view that the Importer module uses to download and use these created JSON files.
-
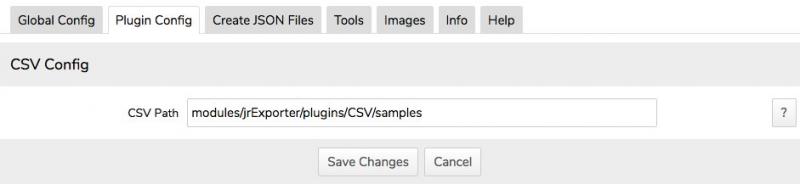
Select the Exporter module from your source site ACP=>Tools section, select the Jamroom plugin then click on the Plugin Config tab.
The CSV Path is the path to where the manually created csv files have been uploaded to. -
Using the CSV Plugin
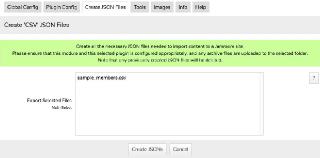
Now click on the Create JSON Files tab. Uploaded csv files in the configured folder are shown in the Export Selected Files multi-select field. Select the one to export and click on the Create JSONs button. A modal window will open showing the progress of all content being exported and the intermediary JSON files created. -
As said above, the CSV files need to be manually created, but this plugin would be useful for those wanting to import a 'test data set' to a Jamroom site, or if you had a database dump of a CMS site contents that need to be imported to a Jamroom site.
Notes on Manually Creating CSV files for Export
To help with the CSV file manual creation, sample CSV files with dummy data are included with this plugin. Check those out so as to understand the format required, along with a full understanding of the intermediary JSON file format (see Appendix).