JAMROOM

First Steps after Installation
Applies to: Jamroom 7.0+
Last verified: 2026-10-24
Table of Contents:
The Admin Control Panel (ACP)
1. Fix what the System Check found
2. Connect the Marketplace and update
3. Close the site while you set it up
4. Check your email settings
5. Decide how people sign up
6. Set up your quotas and modules
7. Choose the skin
8. Build your site pages
9. Test as a member
-
This page assumes Jamroom is installed and you are logged in as the master admin. If not, start with Installing Jamroom.
-
The Admin Control Panel (ACP)
Almost everything below happens in the ACP. Click ACP in your site's header to open it. Only master admins see that link.
-
-
The ACP has three tabs at the top left:
- Dashboard: site statistics, users online, items waiting for approval, and the Activity Log.
- Modules: every installed module, grouped in categories (Core, Profiles, Users, Site, ...). Click a module to see its tabs: Global Config (settings for the whole site), Quota Config (settings per quota), Tools, Language, Images, Templates, Info and Help. Not every module has all of them.
- Skins: the installed skins and their settings.
The Search box above the module list searches the ACP.
-
1. Fix what the System Check found
Open the System Check (ACP > Modules > Core > System Core > Tools > System Check) and work through the yellow and red lines. Create the Admin Account explains the usual ones.
-
2. Connect the Marketplace and update
Enter your Marketplace System ID if the installer didn't, then open ACP > Modules > Core > Marketplace > System Updates and install any updates. See Your jamroom.net Account and the Marketplace.
-
3. Close the site while you set it up
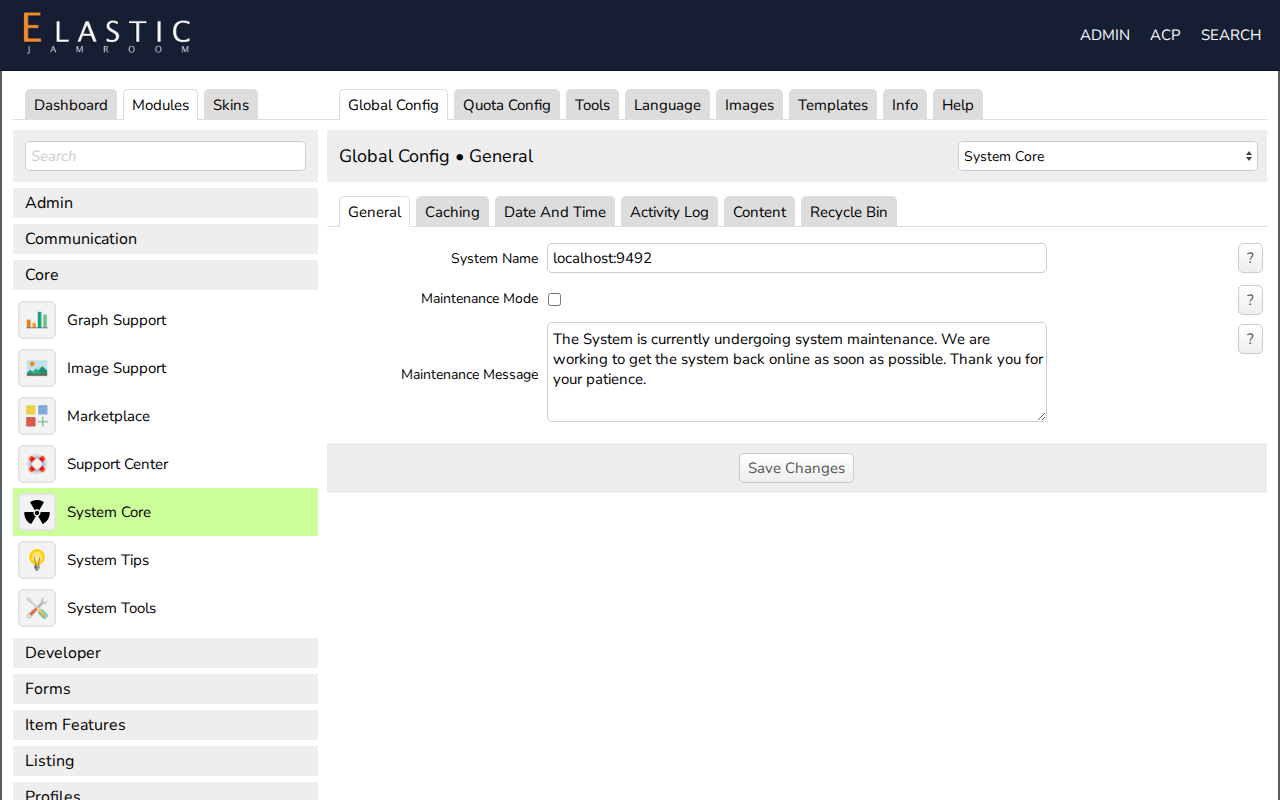
Turn on Maintenance Mode in ACP > Modules > Core > System Core > Global Config. Visitors then see your Maintenance Message. Admins can still log in and use the site, and other members are logged out until you turn it off. Turn it off when you open the site.
In the same place, set the System Name: your site's name, as shown in page titles and emails.
-
4. Check your email settings
Jamroom emails members: account activation, password resets and notifications. In ACP > Modules > Communication > Email Support > Global Config, check:
- From Email Address: set to your admin account's email when you created it. Change it if members should see a different address.
- From Name
- Delivery Method: how email leaves your server.
Email from a web server is often marked as spam. A delivery service gets it to inboxes more reliably. Install one from the Marketplace if you can.
-
5. Decide how people sign up
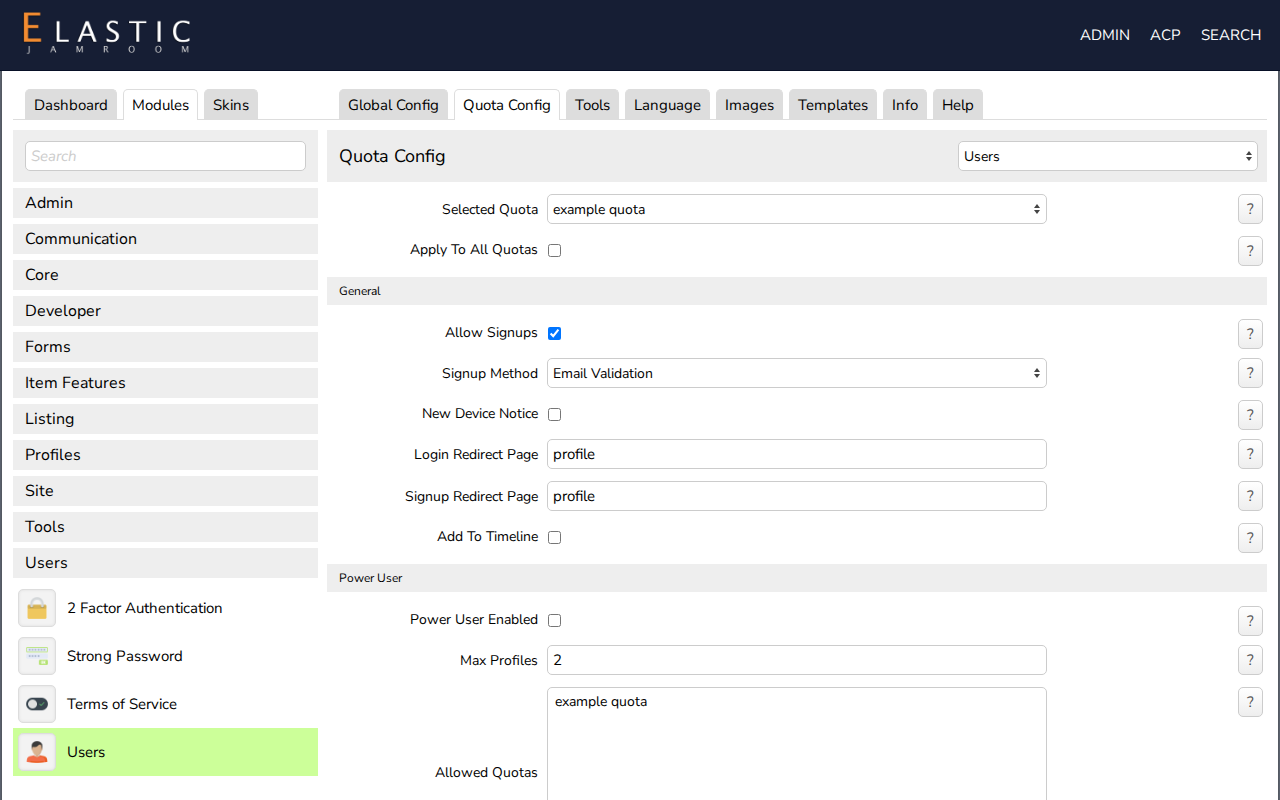
Signup settings are per quota, in ACP > Modules > Users > Users > Quota Config:
- Allow Signups: whether new members can sign up into the selected quota. If more than one quota allows it, the signup form lets people choose.
- Signup Method:
- Instant Validation: the account is active straight away.
- Email Validation: the member clicks a link in an email first.
- Admin Validation: you approve each account.
- Power User Enabled: lets members in this quota create more than one profile.
-
-
6. Set up your quotas and modules
Decide which kinds of members your site has, and create a quota for each in the Quota Browser (ACP > Modules > Profiles > Profiles > Tools > Quota Browser). The new site has one, example quota. Then give each quota its modules in each module's Quota Config tab.
Key Concepts explains quotas, and Example: a Community Site with a Shared Forum walks through a setup from start to finish.
-
7. Choose the skin
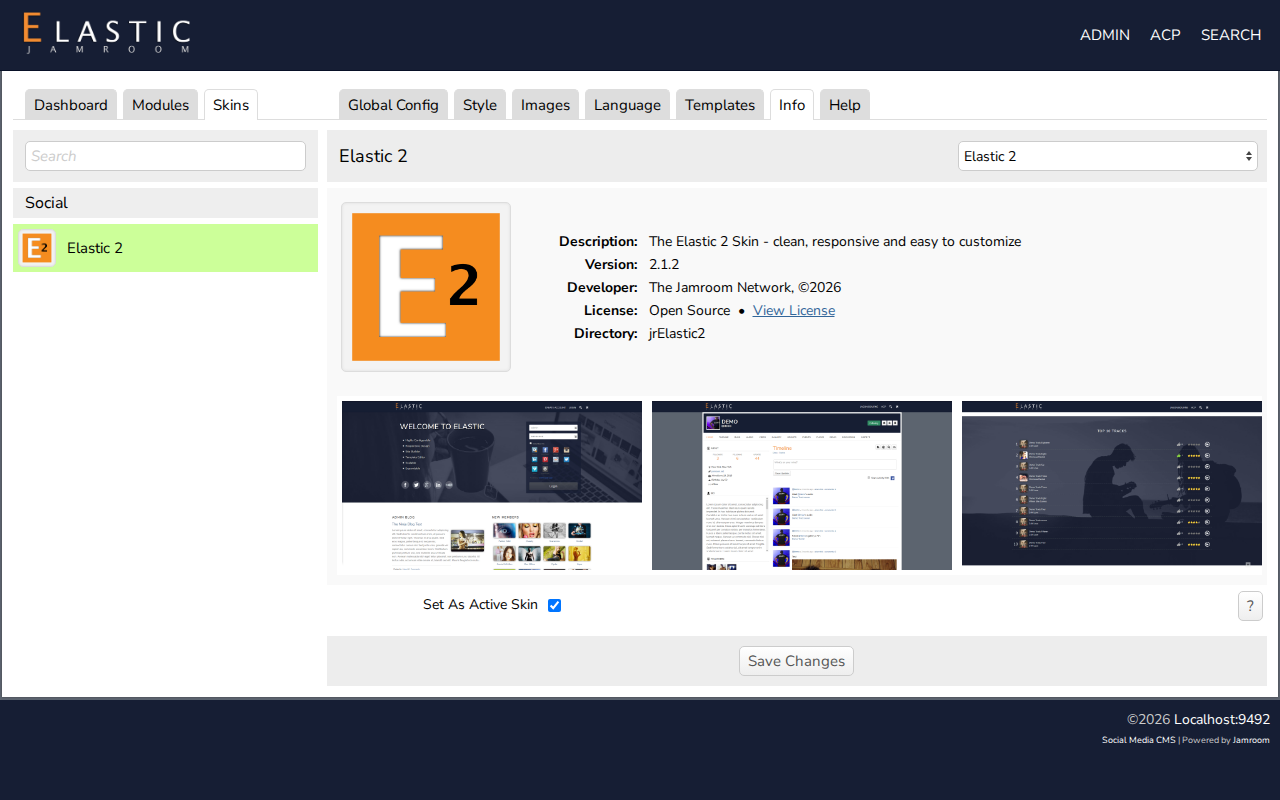
Jamroom Open Source comes with the Elastic 2 skin. Install more from the Marketplace (its Skins tab).
To change the skin, open ACP > Skins, click the skin, check Set As Active Skin and save. Each skin also has its own tabs:
- Global Config: the skin's options
- Style: colors and fonts
- Images: logo and other images
- Language: text
- Templates: the page templates
-
-
8. Build your site pages
Your skin provides the main site pages, such as the home page and member lists. Change them, or add new pages, with Site Builder. While you're logged in as master admin, every page that can be edited in Site Builder shows a Site Builder button. (Show Site Builder Button in ACP > Modules > Site > Site Builder > Global Config turns it on or off.)
See the Site Builder chapter.
-
9. Test as a member
Sign up for a second account in another browser, or in a private window, and use the site the way your members will. Upload something, check what the profile shows and which emails arrive. Fix what you find, then turn off Maintenance Mode.
-
Next: the Running Your Site chapter covers day to day administration.